Welcome Page Body
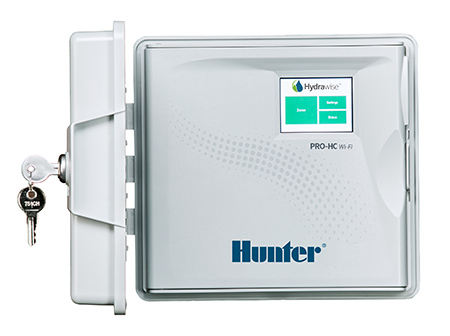
In this support section, you will learn how to install and configure the Pro-HC controller.

Section Menu
Installation
-
Account Setup
The Hydrawise app, short for "application," refers to the software program on a computing device, such as a smartphone, tablet, or computer, that allows you to interact with the
-
Mounting
Start by choosing a location with good Wi-Fi coverage. Wi-Fi coverage can be easily tested using a smartphone. A signal strength of 2 or 3 bars is recommended. Wi-Fi connectivity
-
Connecting AC Power
Indoor CabinetRoute the transformer cable through the hole on the bottom left side of the controller and connect one Yellow Wire to each of the screws marked 24 VAC and the Green
-
Connecting Station Wires
Route valve wires between control valve location and controller.At valves, attach a common wire to either solenoid wire of all valves. This is most commonly a white-colored wire.
-
Valve Wiring Distance
Valve Wire Sizing (Maximum One-Way Distance in Feet Between Controller and Valve)Ground Wire SizeControl Wire (ft)Below is a chart indicating the maximum wire runs that can be used
Sensors
-
Connecting Sensors or Flow Meters (Optional)
The Pro-HC Controller supports most open/closed contact types of sensors. Compatible Hunter flow meters and sensors include the HC FLOW METER, MINI-CLIK®, RAIN-CLIK™, FREEZE-CLIK®,
-
Winterizing with Flow Meter
We recommend that a qualified licensed contractor perform this type of winterization method. The blowout method utilizes an air compressor with a cubic foot per minute (CFM) rating
FAQs
-
Locate Controller Serial Number
To access the serial number on the touch screen, follow these steps:From the HOME screen, click STATUS.Click CONNECTION STATUS (fig.1).The serial number is shown on this screen and
-
Wireless Connection Issues
After entering your wireless settings the controller will connect to your access point. The connection process takes about 30 seconds. Upon successful connection the wireless

