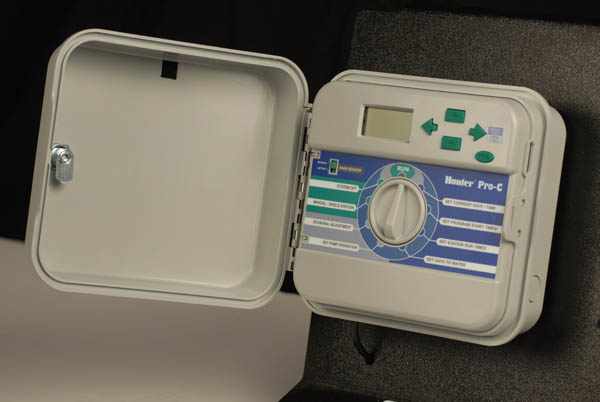
The Pro-C controller is truly modular in design. This means that almost any component of the controller can be removed and replaced if needed.
| STEP ONE | STEP TWO |
|---|---|
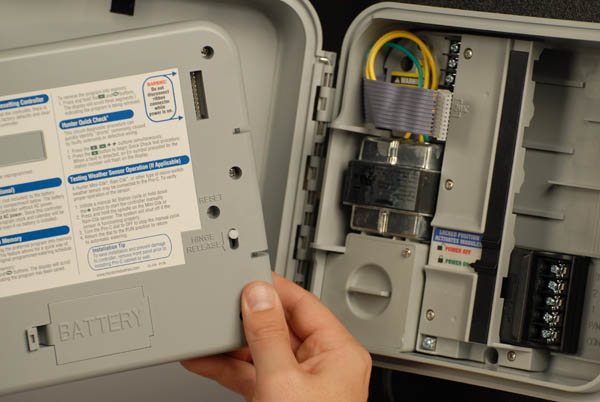
To remove the Pro-C's front panel, start by removing all power from the controller. Unplugging the transformer or shutting off the circuit breaker will be necessary to do this properly. |
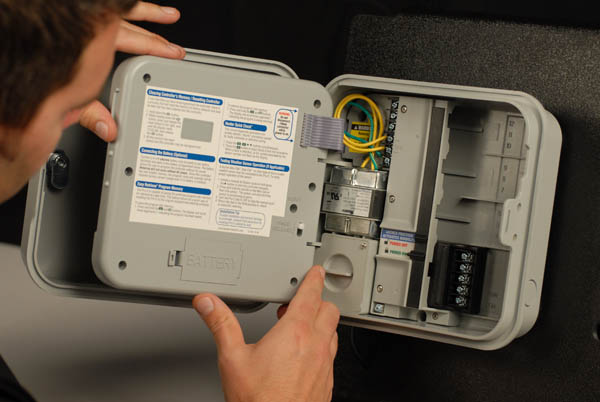
Open the front panel similar to how the controllers door opens, this should expose the battery compartment on the back of the front panel. |
| STEP THREE | STEP FOUR |
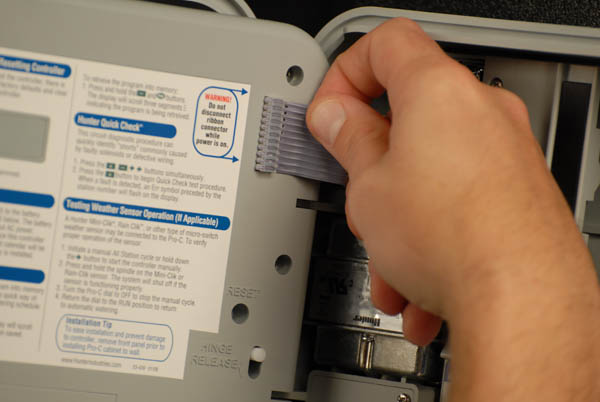
Locate the gray ribbon cable in the upper right corner on the back of the front panel. |
Disconnect the ribbon cable from the back of the front panel by carefully pulling the plastic cable connector off the back of the front panel. |
| STEP FIVE | STEP SIX |
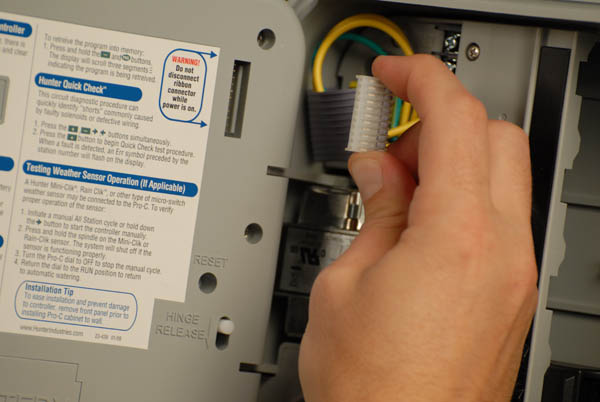
Locate the Hinge Release switch below the ribbon cable connector on the back of the control panel. Push down on the white tab, the hinge pins will retract and allow the front panel to come free from the cabinet. |
After the panel is removed you can reverse this process to install the new face panel. |

Replacement front panels P/N 526200, are available to repair damaged controller. Click on the Get Hunter tab at the top of this screen to find a Hunter distributor near you.
Still need help? We're here.
Tell us what you need support with and we'll find the best solution for you.