Hunter rotors have replaceable riser seals that may wear out over time. Sandy soils, sunken heads, or extremely hot and cold temperatures may also cause a seal to wear out prematurely.The replacement seal kit is available as a replacement part (P/N 253400) and can be ordered through any authorized Hunter distributor.
The new parts in this kit incorporate improvements that increase their durability and life of service. When making repairs, we recommend strongly that both the seal and spring seat be replaced to maximize their effectiveness. Before turning on the sprinkler to check for leaks, necessary adjustments and proper retraction. It's also a good idea to check the final installation height to determine the sprinkler is set to grade.
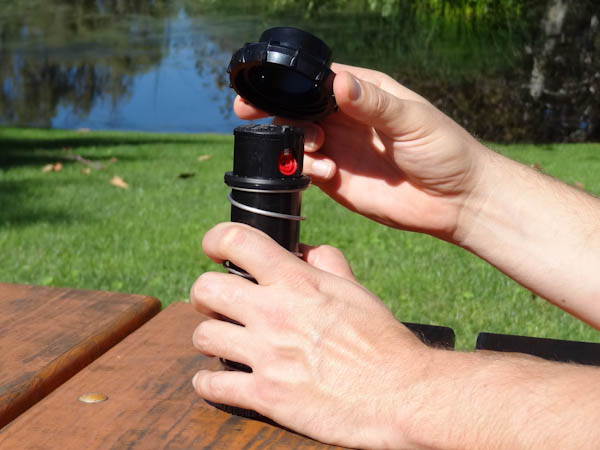
Replacing the Riser Seal on a Hunter rotor
| STEP ONE | STEP TWO |
|---|---|
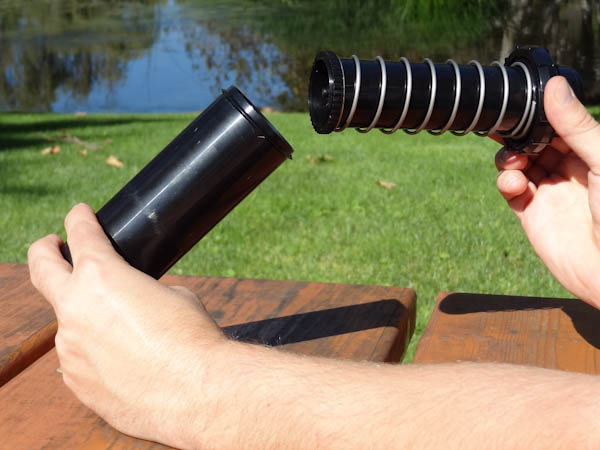
Unthread the body cap and remove the internal assembly from the pop-up body. |
Place the base of the riser on a solid surface and grip the spring and riser body firmly. With the other hand, snap off the body cap—with your palm on top of the logo cap, pull up with your fingers. |
| STEP THREE | STEP FOUR |
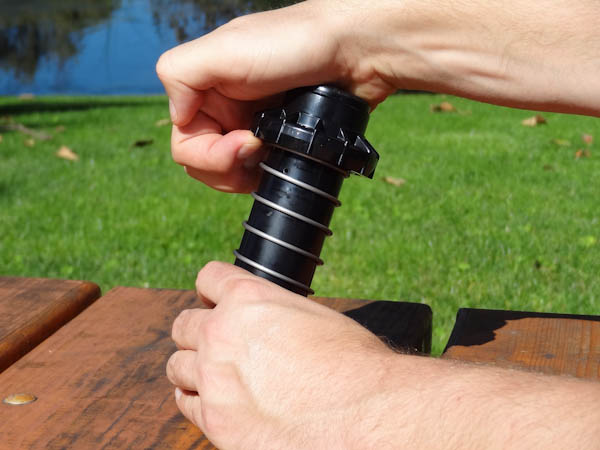
While still gripping the spring and body, remove the rubber seal. |
When you remove the seal, the spring's tension will be released. Remove the plastic spring and plastic springseat (if it was not pushed off by the spring). |
| STEP FIVE | |
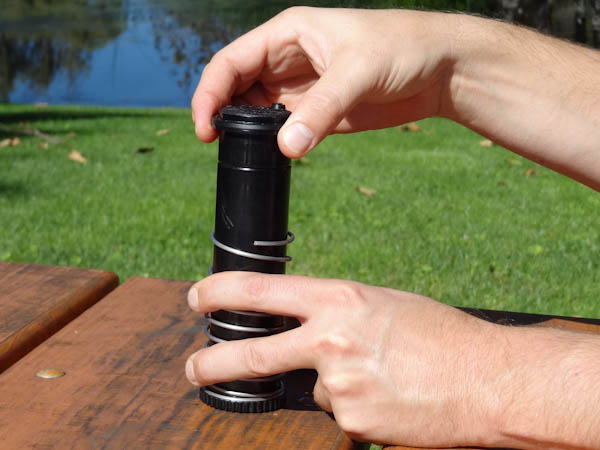
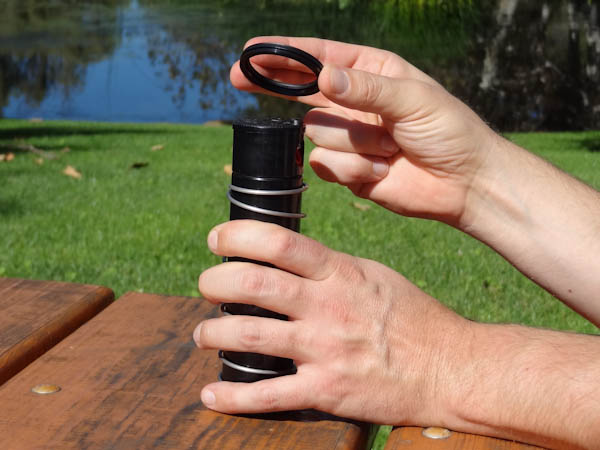
Now that the old seal is removed, the new seals and plastic spring seat can slide over the top of the rotor's turret and onto the riser. Be sure to install the spring seat prior to the riser seal. After the new components are installed you can then reinstall the rotors body cap. |
Still need help? We're here.
Tell us what you need support with and we'll find the best solution for you.