Before installing rotatory sprinklers (rotors), ensure you have a good irrigation design plan and enough pressure for the rotors with good head-to-head coverage. If you are unsure, please get in touch with a professional.
We have supplied details for different construction practices for the rotors. These often vary by region. Hunter provides installation details for designing irrigation systems.Learn More
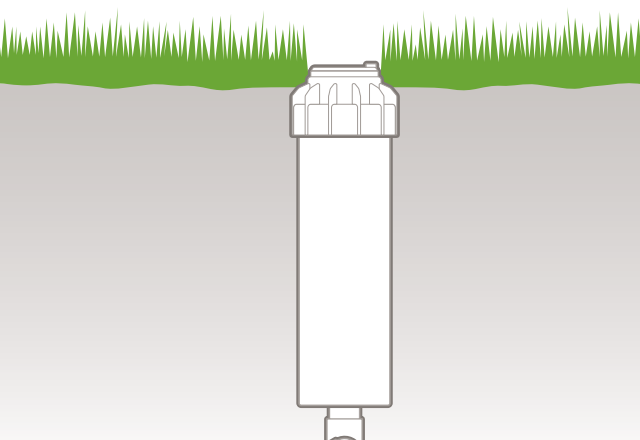
Remove the old rotary head by turning the counterclockwise if applicable. In some cases, excavating the surrounding soil might be necessary to prevent clogging the water lines.
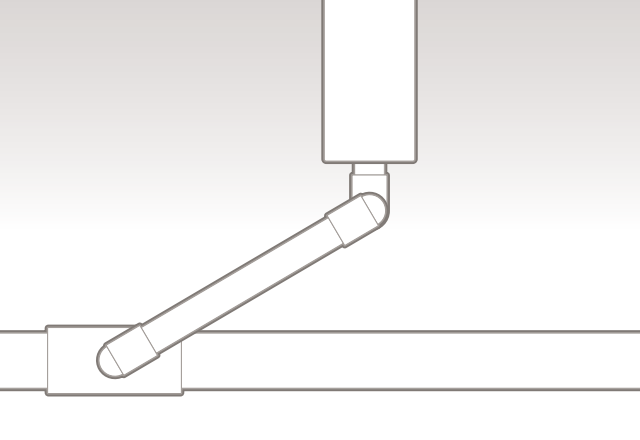
For new installations, a SCH80 riser can be installed at the appropriate height. If using a Hunter Swing Joint, you can adjust the height after the head is installed. Learn More The inlet size of the PGP is ¾" NPT and the PGJ is ½" NPT.
After the rotor is installed, you can backfill the surrounding area and make sure the rotor is set at the appropriate height.
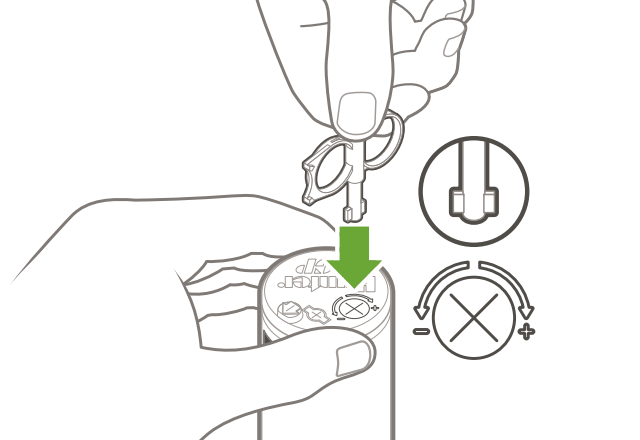
If the right side of the arc is not properly aligned, the results may be a wet walkway or a dry turf area. The right side arc can easily be realigned.
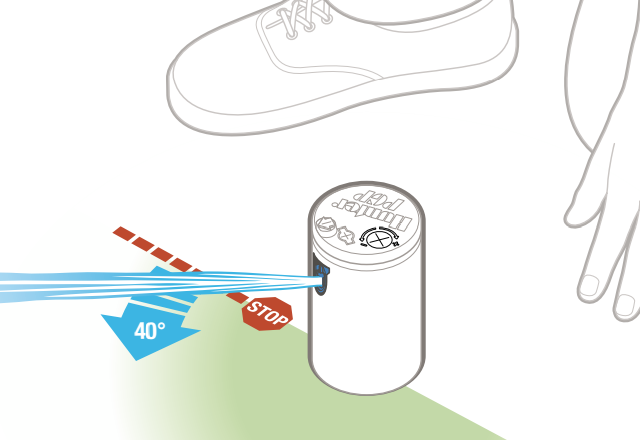
Adjustable heads are preset to approximately 180˚. Sprinklers may be adjusted with water on or off. Learn More
Still need help? We're here.
Tell us what you need support with and we'll find the best solution for you.