Adding an ACC2 or ICC2 controller in the Centralus software is a simple process but will vary depending on the controller model. There are a few requirements before adding to your account.
- Create a free Hunter account here.
- You must have a physical controller with a connected communication module to complete the setup in Centralus.
- Available connection accessories required for each controller:
- ICC2 - WIFIKIT (Wi-Fi Communication Module for the ICC2) or LANKIT Ethernet Communication Module for the ICC2 (requires network link)
- ACC2 - A2C-WIFI (Internal Wi-Fi module), A2C-LAN (Ethernet networking module for ACC2 controllers), or the A2C-LTE (ACC2 cell connection (monthly service plan required)
- Sign in to your CENTRALUS ACCOUNT.
- Click on the MENU icon (
 ).
). - Click on ADD CONTROLLER.
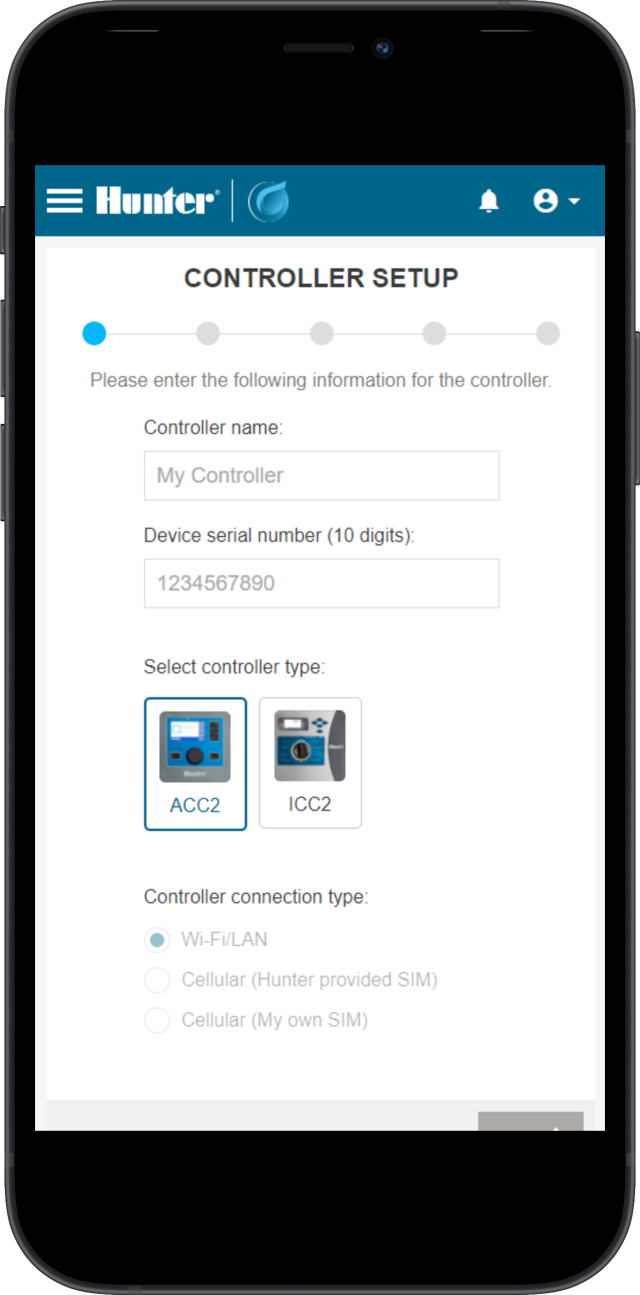
- Enter a CONTROLLER NAME (up to 50 characters).
- Enter in the controller SERIAL NUMBER (10 digits).
- From the ACC2 controller, press the lower soft key MAIN MENU.
- Using the scroll wheel, navigate to the SETTINGS screen.
- Push scroll wheel in, then navigate to NETWORKING and select.
- The serial number is located at the bottom of the screen.
- Enter ADDRESS of the controller (must be a valid postal address in Google Maps).
- Verfiy controller - MAIN MENU > SETTINGS > CONTROLLER VERIFICATION.
- Enter 5-DIGIT CODE from the controller into the Centralus software when prompted.
- Click CONTINUE and the controller can now be configured for programming.
- Sign in to your CENTRALUS ACCOUNT.
- Click on the MENU icon ().
- Click on ADD CONTROLLER.
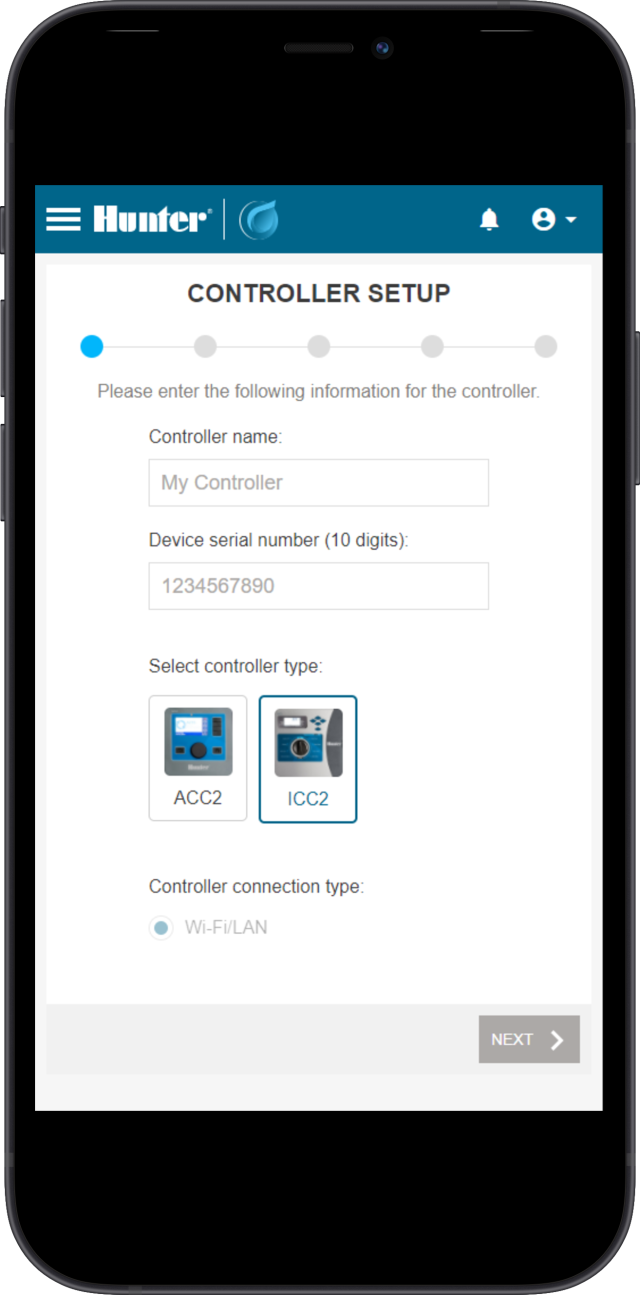
- Enter a CONTROLLER NAME (up to 50 characters).
- Enter in the controller SERIAL NUMBER (10 digits) located on the white sticker of the ethernet cord attached to the WiFi module.
- Enter ADDRESS of the controller (must be a valid postal address in Google Maps).
- Click NEXT. Centralus will then try to connect automatically to the device with the serial number entered above.
- If it does not find the device, the setup will fail. Check the serial number and connection, and try again.
- If the device responds, Centralus will proceed to validate that it is a real controller.
- Turn the dial to START TIMES and click NEXT. For security purposes, this verifies that a person is installing a controller.
- Turn the dial to the RUN position.
- The controller setup should be successful. Finally, click CONTINUE.
When Centralus verifies the dial position, the controller will be added, and the screen will prompt you to return the dial to the Run position. You may now return to the controller list to view or set up the controller.
When you first click a new controller, you will be presented with a First-Time Setup choice:
Use Current Settings at the Controller: This function is usually used to add communication to an existing controller. It will allow you to upload and save the programming that’s already in the controller to the software, saving setup time.
Start With a Blank Controller: This is used for brand-new installations, where the controller has no programming. It will open a blank programming screen, allowing you to set up the controller completely from the software.
Still need help? We're here.
Tell us what you need support with and we'll find the best solution for you.