Quick couplers allow fast access to water while maintaining in-ground durability and vandal resistance. A quick coupler valve is a great tool to use when the rotor does not need to be turned on to irrigate a large area, and it’s only needed for spot watering in small areas. The quick coupler inlet piping must be plumbed to align with the quick coupler’s 7" (18 cm) diameter Quick Access Port in the vault’s cover. If the quick coupler is too low, it will be impossible to attach the key.
IMPORTANT: For all threaded parts, apply Teflon tape to the threads.
- Thread the quick coupler to a 1" x 18" (25 mm x 460 mm) Schedule 80 PVC nipple or metal nipple.
- Install the nipple with the quick coupler attached to it on the supply line.
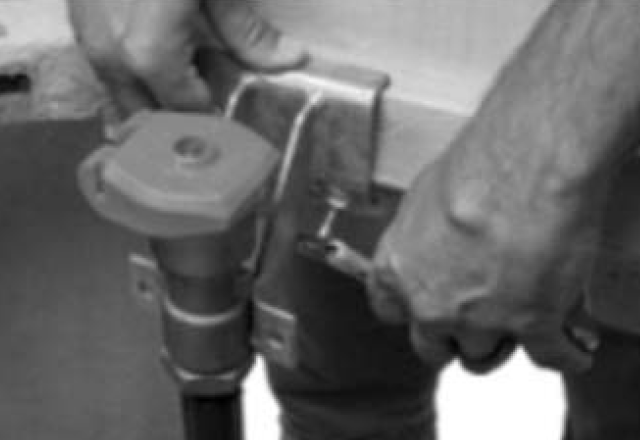
- Mount the quick coupler to the vault with the ST-BKT-QCV Quick Coupler Bracket. Mount the bracket to the vault directly below the quick coupler access port with the supplied bolts. When installing the quick coupler to the bracket, it’s important to set the top of the quick coupler less than a 1/2" below the underside of the main vault cover to allow for key activation from above. Mount the bracket to the inner lip of the vault and tighten the included bolts until the quick coupler is secured. Route and install the drain valve piping.
Attach the brass drain valve. Make sure the drain valve is the lowest piping within the vault.


Still need help? We're here.
Tell us what you need support with and we'll find the best solution for you.