To maintain internet connectivity, you must activate a data plan after provisioning the network connection. This process should be completed by the controller owner, who will need to enter billing and payment information for the cellular data service. International customers shall purchase the necessary SIM card and data plan from their local LTE-M/NB-IoT provider prior to setup in the Centralus Platform.
A Hunter Centralus account is required to complete the controller configuration. Using an internet-connected smartphone, tablet, or PC, use the link below to set up a free Centralus account.
Sign into your Centralus account. From the Centralus Main Menu, select Add Controller.

Create a Name for the controller and input the 10-digit Serial Number associated with the CELLKIT Module. Individual serial numbers are etched on the back of the Inner Module.
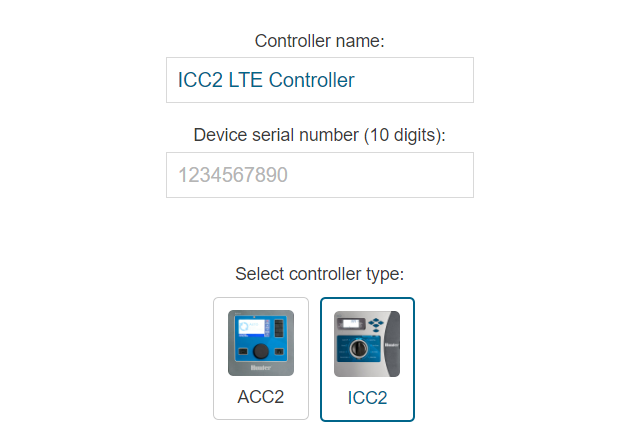
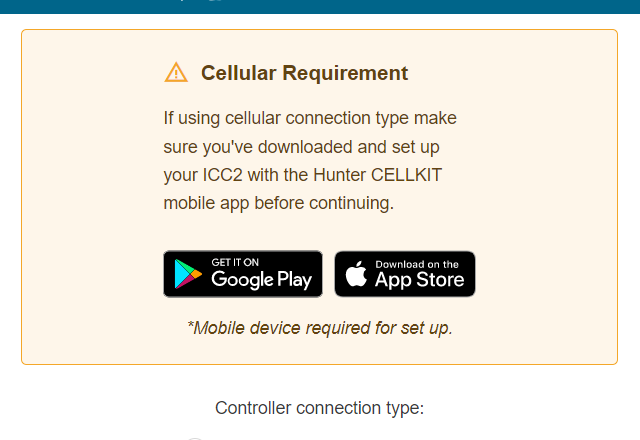
Select the controller type ICC2 and controller connection type. You must select either Cellular (Hunter provided SIM) or Cellular (My own SIM) to complete the setup. The CellKit App can be used for future troubleshooting if needed or if you choose to connect to your own sim.
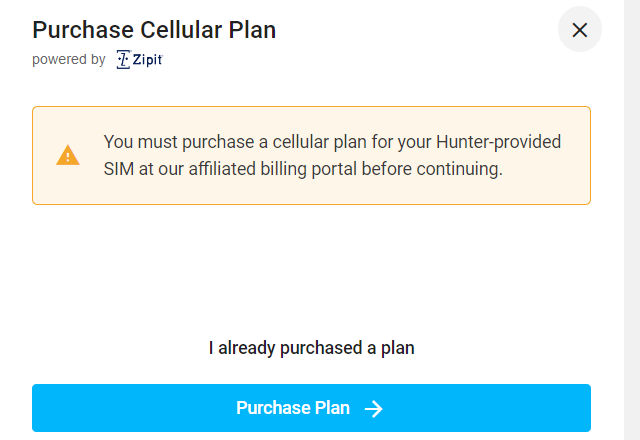
Select Purchase Plan. Select a Data Plan and input billing and payment information. Follow on-screen instructions for service payment, plan options and activation. Learn more about Managing Subscriptions
IMPORTANT: If a plan is not assigned to the account, the controller will not communicate with Centralus software.
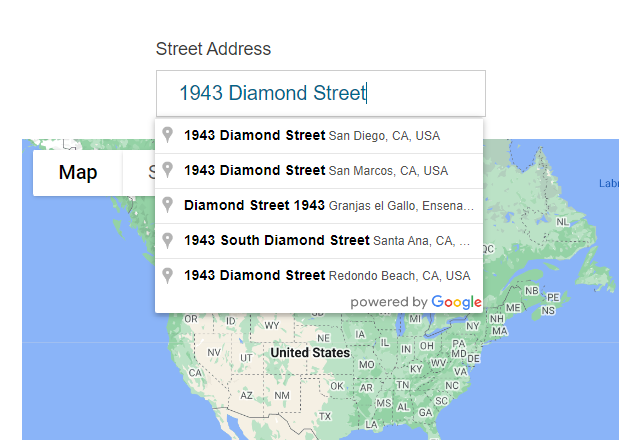
After successful data activation, return to the Centralus Add Controller window. Enter a valid Address for the controller location and click Next.
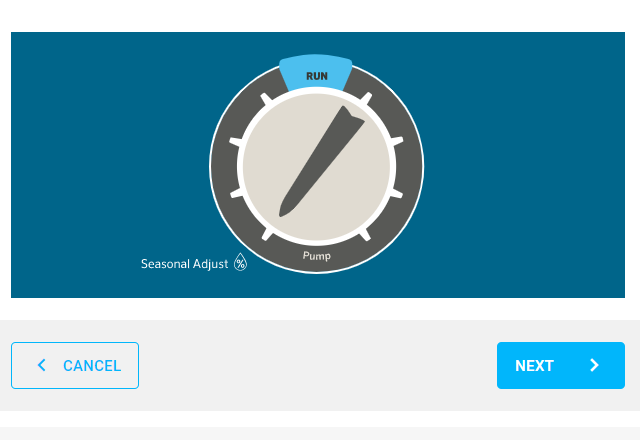
To verify the device for security purposes, you will be prompt to rotate the ICC2 Controller dial to the requested position (as indicated in Centralus). Select Next.
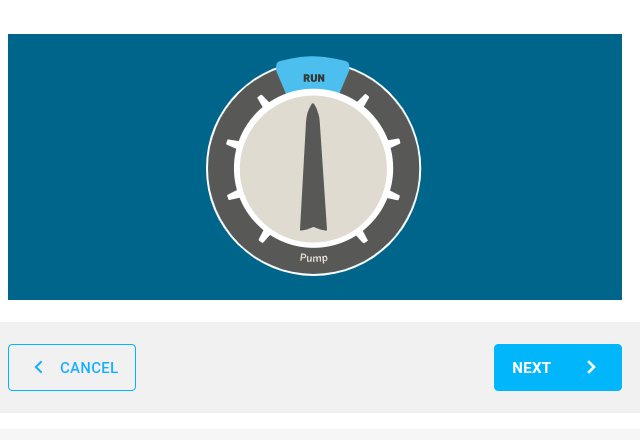
Once the requested dial position is confirmed, you will be instructed to return the dial to the Run position, then select Next. This step must be completed before finalizing the controller setup.
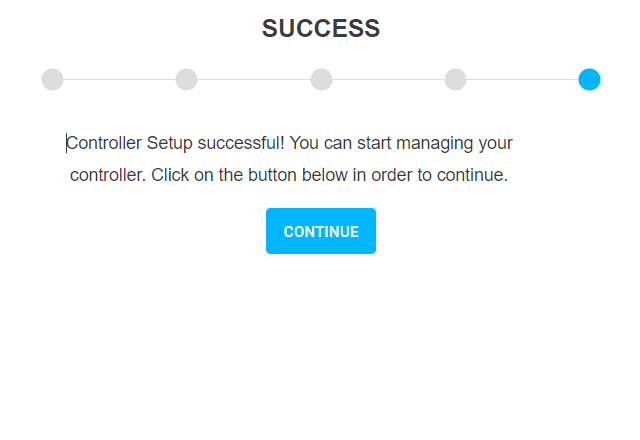
Once Controller Verification is complete, you have successfully added the controller to your Centralus account. Click Continue to begin programming your controller.
Still need help? We're here.
Tell us what you need support with and we'll find the best solution for you.